Converting a file in Blackboard
Rather than uploading your files directly to Blackboard, you may want to consider using the ‘Convert a file’ option:

- Select Create, Document, then ‘Convert a file’
- Browse for your files on your PC.
- Once selected, the system converts the file into the Document format.
- Supported file types include PDF (.pdf), PowerPoint (.ppt, .pptx, .pps), or Word (.doc, .docx, .odt).
- Converted content should be reviewed for accuracy
Why use a Blackboard Document?
Blackboard documents are more accessible than uploading files because they are designed as native, responsive web pages (rather than attachments). The documents will also use a more standardised font style, so provide consistency across your Blackboard module.
Using Auto-generate layout
After creating your document, you can then auto-generate the layout.
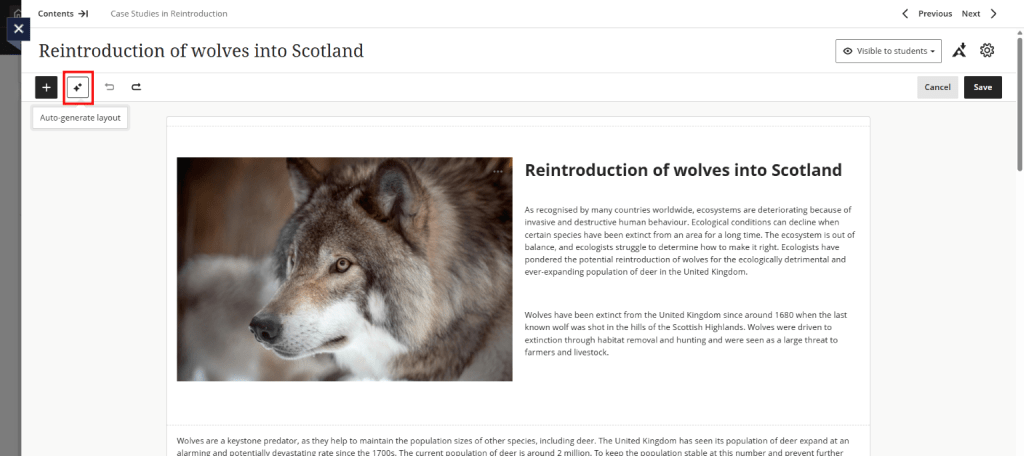
In a document that already has content, select the auto-generate icon (shown in red above). This optimises the layout, reorganises text or image content, and optionally creates a knowledge check.
- Select the Auto-generate layout icon.
- Review the layout and adjust as needed.
- You can select Settings and update options, such as, which images are included, or if a knowledge check is needed.
- Select Apply layout.